

Breeze Connect
Teams Direct Routing
Quickstart Guide
This document covers the basic steps required to enable MS Teams for Direct Routing.

Breeze Connect
Teams Direct Routing
Quickstart Guide
Prior knowledge and external documentation will assist with processes not covered in this guide and related to:
If you need guidance on these prerequisites
please speak to the Leader Cloud Sales team to get started.
Important Notes
• You will require appropriate privileges in your Office365 environment in order to perform the required configuration steps
• On occasions, Microsoft cloud services, including MS Teams exhibit issues with synchronizing changes. If you are issuing commands that don’t seem to take effect, please wait a while (on occasions we have noticed it taking 1-2 hours) and then re-test. Unfortunately, this is not something within our control.
Breeze Teams QuickStart guide
If need any help during this process feel free to call us
Steps
Step 1
Contact Breeze connect and share your interests in MS Teams:
- How many users
- How many channels
- Existing numbers / New numbers
- Do you have appropriate Office365 licenses for end users
Step 2
- New Breeze Customer:
- Create a customer profile from your Representative portal – https://my.breezeconnect.com.au/
- Create a new Trunk as a placeholder for the MS Teams service. (This trunk will only be used as a billing reference and does not have to be registered)
- Use the Breeze Teams base product when creating your Trunk.
- No add-on product required
- Existing Breeze Customer:
- Create a new Trunk as a placeholder for the MS Teams service. (This trunk will only be used as a billing references and does not have to be registered)
- Use the Breeze Teams base product when creating your Trunk.
No add-on product required
Step 3
- Breeze Connect will supply a unique direct routing domain that needs to be added to your Office365 instance. Once the domain has been added to your O365 instance you can proceed onto the next step.
- The following Microsoft guide shows detailed instructions on how to add the domain – https://docs.microsoft.com/en-us/microsoftteams/direct-routing-sbc-multiple-tenants#register-a-subdomain-name-in-a-customer-tenant
- During the above process Microsoft will provide you with a DNS TXT record. Please send that to BreezeConnect support to finalise the domain validation step.
Step 4
- In order to activate your domain, you will need to assign at least one E1, E3, or E5 licensed user a SIP address with the FQDN portion of the SIP address matching the created base domain
- The following Microsoft guide shows detailed instructions on how to activate the domain – https://docs.microsoft.com/en-us/microsoftteams/direct-routing-sbc-multiple-tenants#activate-the-domain-name
Step 5
- Using PowerShell, connect a remote session for the tenant (This step requires O365 credentials with Admin privileges)
- Import-Module MicrosoftTeams
- Connect-MicrosoftTeams -Credential $credential
- Create a PSTN usage policy
- Set-CsOnlinePstnUsage -Identity Global -Usage @{Add=”NetSIP_Usage”}
- Create Voice Route and Associate with PSTN usage (You require the unique direct routing domain provided in step 3)
- New-CsOnlineVoiceRoute -Identity “NetSIP_Route” -NumberPattern “.*” -OnlinePstnGatewayList p999999999999999P.teams.netsip.net.au -OnlinePstnUsages “NetSIP_Usage”
- Create a voice routing policy
- New-CsOnlineVoiceRoutingPolicy “NetSIP_Policy” -OnlinePstnUsages “NetSIP_Usage”
- Enable Voice for your user, and assign a phone number
- Set-CsPhoneNumberAssignment -Identity your.user@yourdomain.com -PhoneNumber +61999999999 -PhoneNumberType DirectRouting
- Assign the voice routing policy to your user
- Grant-CsOnlineVoiceRoutingPolicy -Identity “your.user@yourdomain.com” -PolicyName NetSIP_Policy
- Verify your user is configured as expected (optional)
- Get-CsOnlineUser -Identity “your.user@yourdomain.com” | Format-List -Property FirstName, LastName, EnterpriseVoiceEnabled, HostedVoiceMail, LineURI, UsageLocation, UserPrincipalName, WindowsEmailAddress, SipAddress, OnPremLineURI, OnlineVoiceRoutingPolicy, TeamsCallingPolicy, dialplan, TeamsInteropPolicy

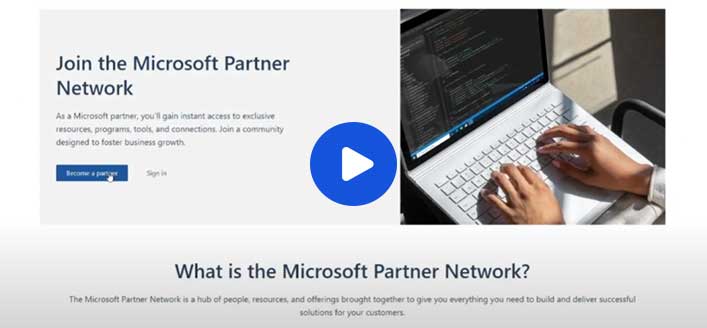
Register to become a
Cloud Solution Provider
- 100% Australian

& Local Support
- 100% Australian

& Local Support
- 100% Australian

& Local Support
- 100% Australian

& Local Support
- 100% Australian

& Local Support
Step by Step: How to use Leader Cloud?
STEP 1
Introduction and First Orders
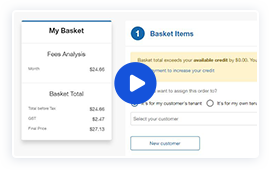
STEP 2
Adjusting Your Orders
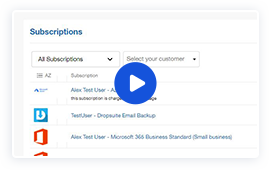
STEP 3
Managing Your Customers
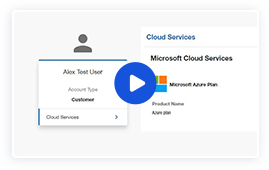
STEP 4
Accessing Tax Invoices and Updating Payment Options
Speak to us on 1300 537 277


